Hello everyone, We will learn how to install Apache on the ec2 instance in this article. Let’s get into it.
Installing Apache on an Amazon EC2 instance is a straightforward process that can enhance your web hosting capabilities, leveraging the power and flexibility of EC2. This guide will walk you through the steps to get Apache up and running on your EC2 instance. By the end of this tutorial, you’ll have a basic web server set up in your EC2 instance that can be customized for your specific hosting needs.
Prerequisites for installing apache
You need to have this thing available to follow this article.
- An active AWS Account
- An EC2 instance
- A user with sudo permission
If you still need to do this you can check out these articles here.
Step 1: Connecting to Your Instance
After launching your instance, connect to it using SSH. The AWS management console provides a built-in SSH client for convenience, or you can use any SSH client. First Navigate to the instances and note the public ip address of your instance.

Next, open a terminal and use the following command to connect to the ec2 instance using SSH.
Command: ssh -i /path/to/your-key.pem ec2-user@your-instance-public-ip

Step 3: Installing Apache
Once logged in. Update your package repository to ensure you get the latest versions of the software using the command `sudo yum update`.

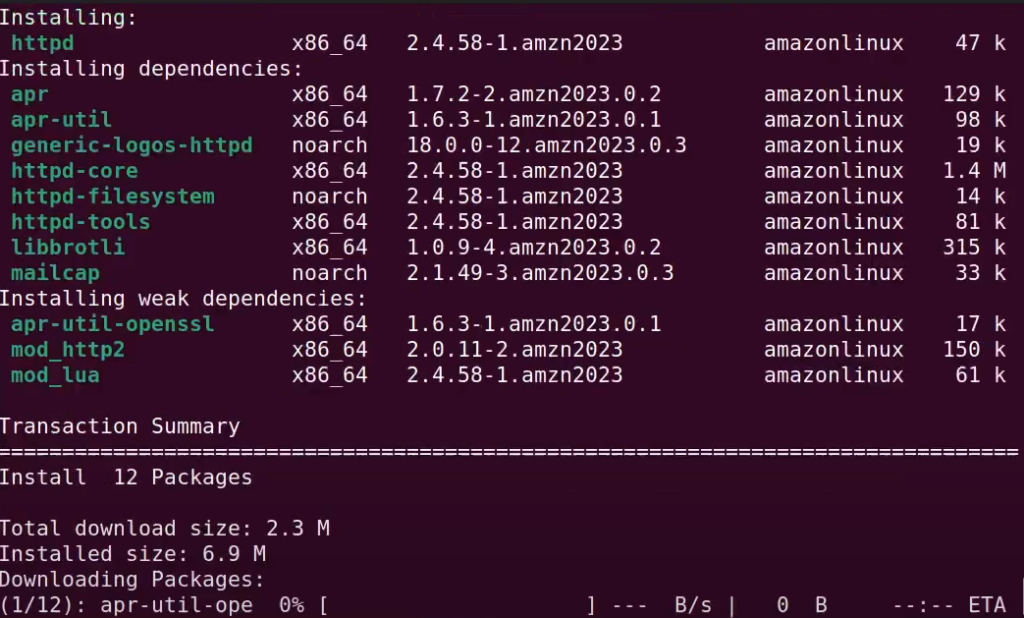
Next, install the Apache server using the command `sudo yum install -y httpd`. The package manager for the Apache webserver in Amazon Linux is named httpd. This will install the Apache server along with all the dependencies.

Step 4: Configuring Apache
After installation, start httpd using the command `sudo systemctl start httpd`. And to ensure httpd starts automatically on reboot use the command `sudo systemctl enable httpd`. Or you can use this command `sudo systemctl enable –now httpd` to combine both.

Now navigate to the browser and browse the ip address of your ec2 instance. If you see it’s loading but not showing anything. This is because of the Security group issue.

Step 5: Adjusting Firewall Settings
To allow web traffic on the standard web ports, adjust your EC2 instance’s security group settings. In the EC2 instance dashboard, select the instance and navigate to the “Security” tab. Then click on the security group.

Now click on “Edit inbound rules”.

Now click on “Add rule” and select HTTP.

Now select 0.0.0.0/0 for source and click on “Save rules”.

Step 6: Testing Apache
Now open a new tab and browse the instance ip once again and this time you will see it print “It works!”. This is the default page of the Apache web server.

You can change the configuration. Redirect to a different subdomain or port. Change the web app file to show your own application. The location of the web app file in httpd is `/var/www/html/`. Here I will transfer a demo website and show it to you.

Browsing the IP again will reflect the changes.

That was it for this tutorial.
Elite Cloud, an officially authorized AWS cloud agent, specializes in helping businesses deploy, manage, and optimize Amazon EC2 instances. Whether you’re just getting started with AWS or looking to enhance performance, reduce costs, or implement automation, our expert team delivers tailored solutions for your industry needs.


