Google Cloud Run is a fully managed serverless platform that allows developers to deploy and run containerized applications without the burden of managing infrastructure. It automatically scales up and down based on demand, ensuring optimal resource utilization and cost-effectiveness.
This makes it an excellent choice for hosting web applications, APIs, and background workers that need to handle varying workloads efficiently. In this step-by-step guide, you’ll learn how to deploy a simple serverless application on Cloud Run.
Prerequisites
Before starting, ensure you have the following:
- A Google Cloud Platform (GCP) account
- Google Cloud SDK installed locally (we will install it if you haven’t already)
- Docker installed to build and manage container images
- A sample application (we will create a simple flask application)
We will be using a Debian-based Linux system for this guide, so the installation steps will be specific to Linux.
Step 1: Set Up Your GCP Project
Navigate to the Google Cloud Console.
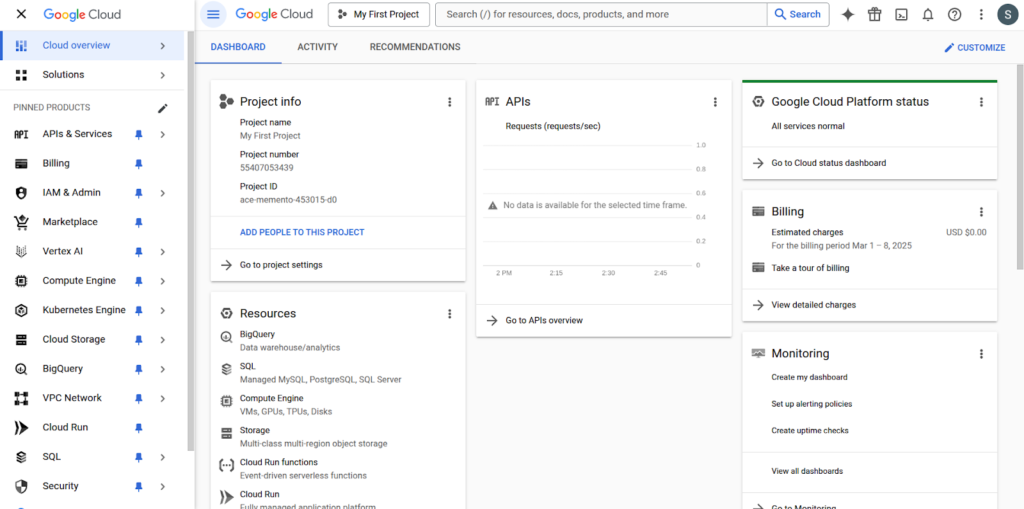
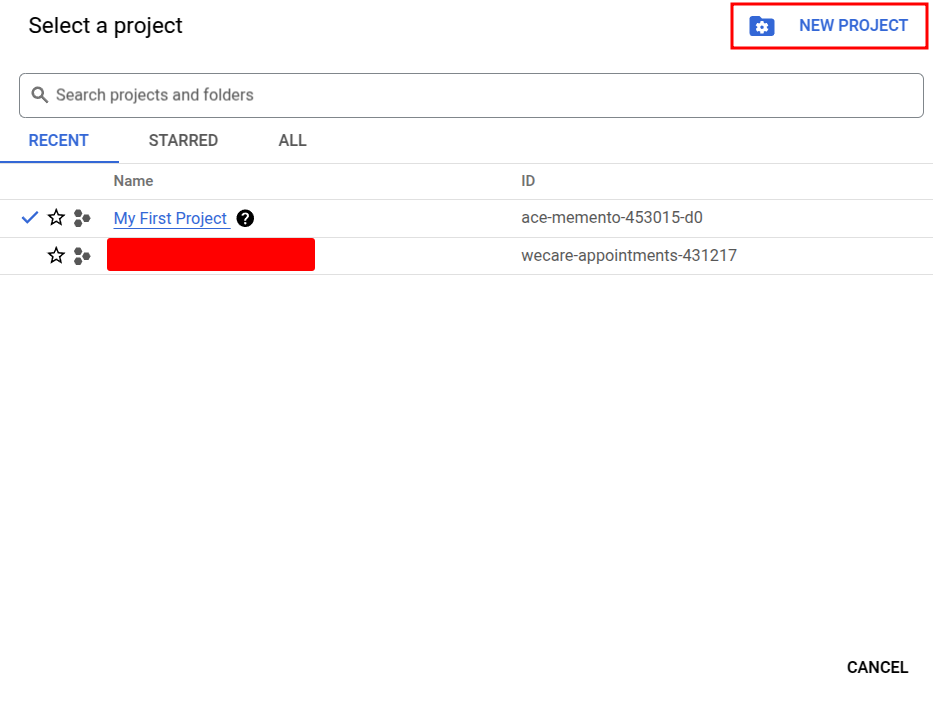
If you haven’t already, create a new project or select an existing one.
Enable Cloud Run API by going to APIs & Services > Library, searching for Cloud Run Admin API, and enabling it.

Find your Project ID by going to the Dashboard in Google Cloud Console. You will need this ID for the following steps.
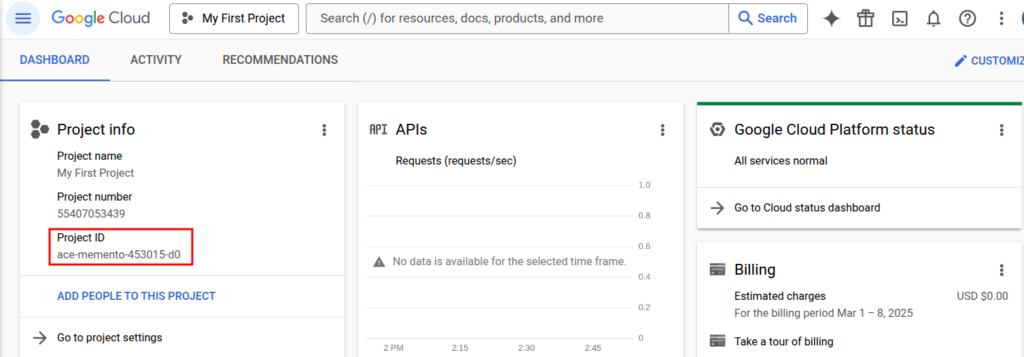
Step 2: Install Google Cloud SDK
If you haven’t installed the Google Cloud SDK, follow these steps:
Download the SDK using `curl -O https://dl.google.com/dl/cloudsdk/channels/rapid/downloads/google-cloud-cli-linux-x86_64.tar.gz`

Extract the downloaded file using `tar -xf google-cloud-cli-linux-x86_64.tar.gz`

Navigate into the extracted directory with `cd google-cloud-sdk`

Run the install script using `./install.sh`

Restart your terminal and verify the installation by running `gcloud –version`

Once installed, initialize the SDK by running `gcloud init` and following the on-screen instructions to authenticate and set your default project.

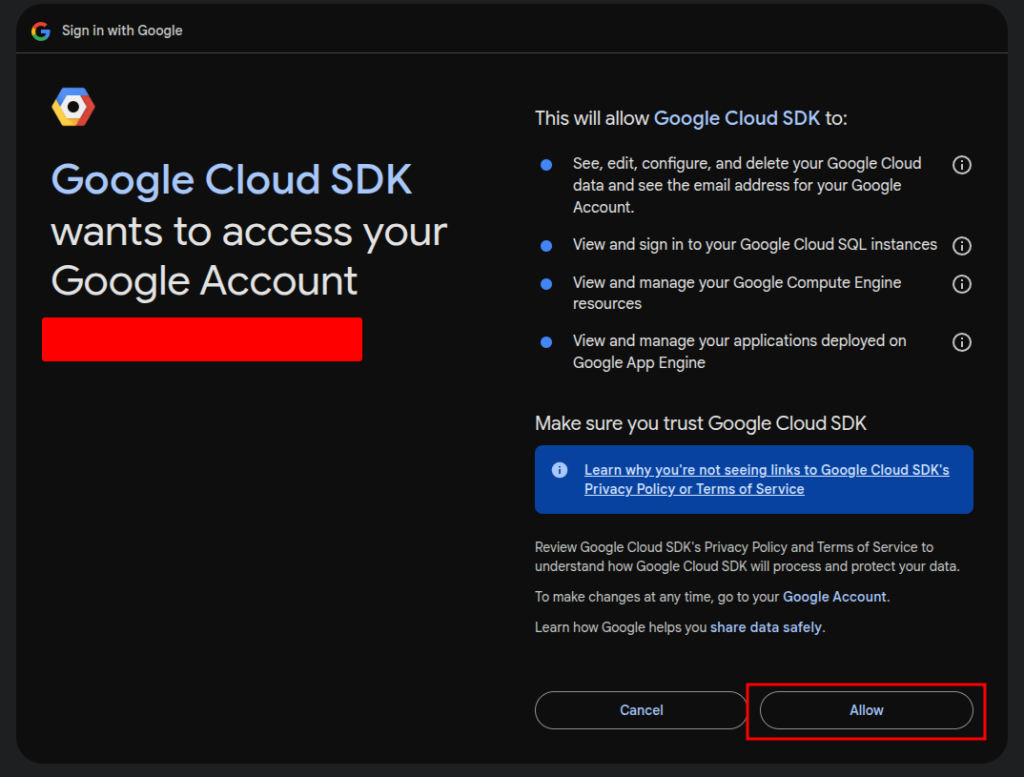
Set your project with `gcloud config set project [PROJECT_ID]`, replacing [PROJECT_ID] with the Project ID you found earlier.

Step 3: Create an Artifact Registry Repository
Before pushing the Docker image, you need to create an Artifact Registry repository to store your container images.
Enable the Google Artifact Registry by applying `gcloud services enable artifactregistry.googleapis.com`.

Create a new repository: `gcloud artifacts repositories create cloud-run-repo –repository-format=docker –location=us-central1`

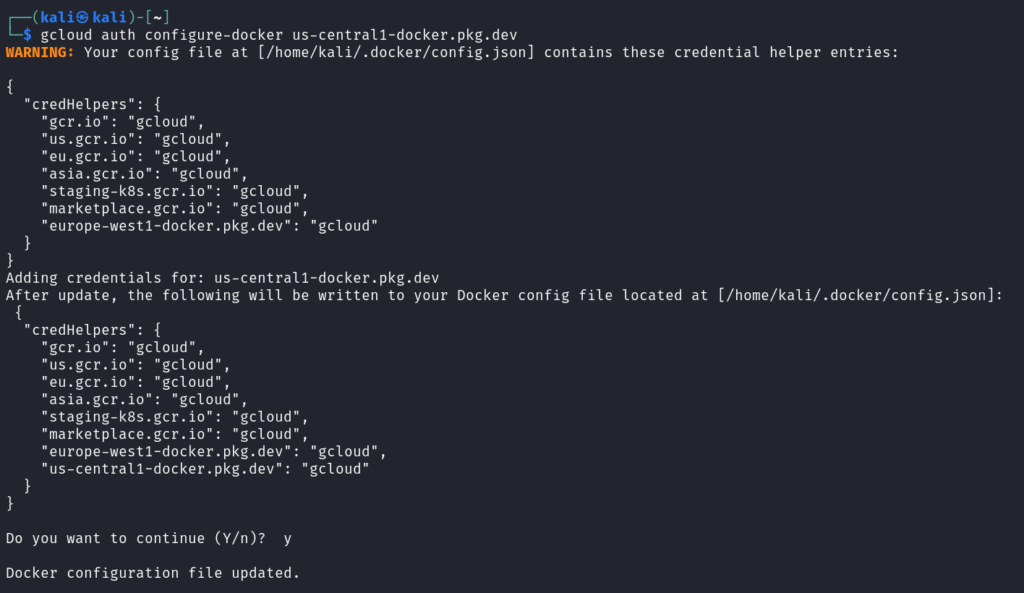
Configure Docker to use Artifact Registry: `gcloud auth configure-docker us-central1-docker.pkg.dev`
Step 4: Write a Simple Flask App for Cloud Run
Create a new directory for your application using `mkdir cloud-run-app && cd cloud-run-app`

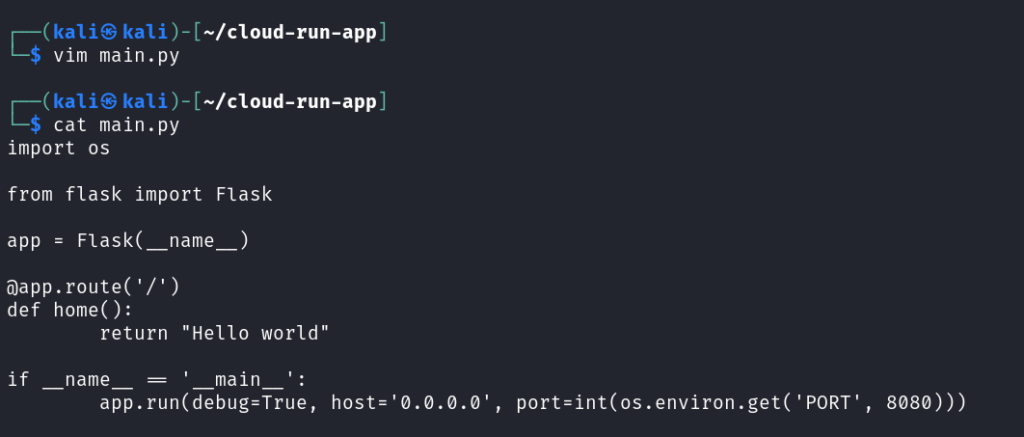
Inside this directory, create a main.py file and add the following Python code:
“`
import os
from flask import Flask
app = Flask(__name__)
@app.route(‘/’)
def home():
return “Hello world”
if __name__ == ‘__main__’:
app.run(debug=True, host=’0.0.0.0′, port=int(os.environ.get(‘PORT’, 8080)))
“`
Then, create a requirements.txt file and add
“`
Flask==2.2.2
werkzeug==2.2.2
“`

Step 5: Create a Dockerfile
Create a Dockerfile inside your project directory with the following content:
“`
FROM python:3.9-slim
WORKDIR /app
COPY . /app
RUN pip install -r requirements.txt
CMD [“python”, “main.py”]
“`

Step 6: Build and Push the Docker Image
Build the Docker image with `docker build -t us-central1-docker.pkg.dev/[PROJECT_ID] /cloud-run-repo/cloud-run-app .`, replacing [PROJECT_ID] with your actual Project ID.
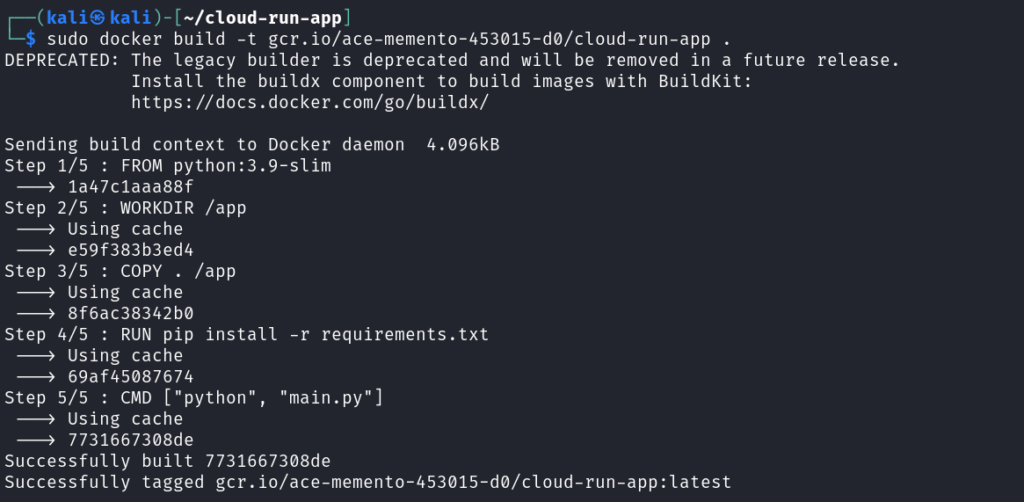
Push the image to Google Container Registry using `docker push us-central1-docker.pkg.dev/[PROJECT_ID]/cloud-run-repo/cloud-run-app`

Step 7: Deploy to Cloud Run
Deploy the container to Cloud Run using `gcloud run deploy cloud-run-app –image us-central1-docker.pkg.dev/[PROJECT_ID]/cloud-run-repo/cloud-run-app –platform managed –region us-central1 –allow-unauthenticated`

- –platform managed: Deploys the application to Google Cloud Run’s fully managed environment.
- –region us-central1: Specifies the deployment region.
- –allow-unauthenticated: Makes the service publicly accessible.
After a successful deployment, Cloud Run will return a public URL where your application is live. Open the URL in your browser to test your app.

Step 8: Delete Your Cloud Run Service
To delete the Cloud Run service when you no longer need it, run `gcloud run services delete cloud-run-app –region=us-central`.

Use the `gcloud artifacts docker images delete us-central1-docker.pkg.dev/ace-memento-453015-d0/cloud-run-repo/cloud-run-app –delete-tags –quiet` command to delete the image from the artifact registry.

Want to optimize your Cloud Run deployment and reduce costs?
As a Google Cloud Premier Partner, Elite Cloud provides expert serverless architecture consulting, performance tuning, and security enhancements.
🔹 Save costs by optimizing autoscaling
🔹 Enhance security with Cloud IAM best practices
🔹 Boost performance with caching and networking improvements
📞 Talk to an Expert Now and take your Cloud Run deployment to the next level!
Conclusion
Congratulations! You’ve successfully deployed a serverless application on Google Cloud Run. This deployment model allows you to focus on developing your application without worrying about managing infrastructure. Cloud Run automatically scales up during high traffic and scales down to zero when no requests are being processed, making it an efficient and cost-effective solution.
FAQ
What is Cloud Run?
Google Cloud Run is a fully managed compute environment. It lets you deploy and scale serverless containerized microservices.
What are the benefits of serverless architecture?
Serverless architecture offers automatic scaling and secure execution. It’s also cost-effective, letting you focus on coding without worrying about infrastructure.
How does Cloud Run differ from other platforms?
Cloud Run stands out by offering a fully managed compute environment. It simplifies deploying and scaling serverless containerized applications.
What are the steps to get started with a serverless project on Cloud Run?
To start a serverless project on Cloud Run, first set up your development environment. Then, create a new Cloud Run service and configure its settings.

